Written by Yash Agrawal
Tuesday, August 29, 2023
Import your Autodesk Revit designs into Autonomous HVAC CFD in 5 steps!
By
Yash Agrawal


Autonomous HVAC CFD (henceforth AHC) is an app that enables the user to design HVAC systems within the app and assess them using the power of cloud computing and web applications. Because of an in-app BIM design system, the design tools available to the user are very limited. Hence, starting with AHC 2024, we have added a feature which allows the user to bring their Revit models directly into our app. This article details how to use the feature on a step by step basis
Pre-requisites
There are a few things that need to be taken care of before you can use this feature. They are:
- You must have a Autodesk Revit 2023 or 2024 license.
- You must have the Autodesk Revit Data Exchange Connector (2023, beta available for 2024) & AHC Connector addins installed in Revit. Both of these can be found on the Autodesk app store.
- You must use a Revit template provided by us to create your design. This template comes with the AHC Connector addin.
- You must have a subscription to our AHC app. If you don't, you can go to our website and sign up here.
- You must have an Autodesk Construction Cloud account.
- You must have our AHC Connect plugin added to your ACC account. The AHC connect plugin can be found on the ACC app store.
Once you have all of the above, you can proceed to the first step of this exciting process.
Import Workflow
Step 1 - Design Preparation & using the Template
Once you download and install the AHC Connector addin for Revit, you will be able to find our template at the following location:
"
"
C:\ProgramData\Autodesk\ApplicationPlugins\Centre for Computational Technologies (CCTech) Autonomous HVAC CFD Connector.bundle\Contents".
It's named "Autonomous_ HVAC_ CFD_ Revit_ template.rte". Please create a new Revit design using this template. Inside you will find a customized component library containing air terminals, furniture, generic
items and more that is sufficient to build realistic and detailed designs.
Please create your design using these components only and do not add any custom components to the template.

Choosing the correct template
You can also edit some of the properties of certain components like 'Heat Flux' for electronic components and also choose variants of a family from the different types available.
Please make sure that you create a base design first without any airside distribution systems or air terminals in it.

Customized families & components
After your design is created, we proceed to validate it in step 2.
Step 2 - Design Validation & Data Extraction
Every design created using our template needs to be validated to see if it fits the standards of our AHC application and is fully compatible with it. We use the AHC Connector addin for this.
Please navigate to the addins tab and click on the Autonomous HVAC CFD Connector button. If everything is in order, you will receive a message saying that your validation is successful.

Successful Validation
Otherwise, you will receive a Validation Report stating the various discrepancies in the design. The report will state the type of issue and will also pinpoint the components that need to be rectified.

Validation Report
Once the design is successfully validated, some geometric & transform data for each component will be extracted and bound to the component itself. This data is required by our AHC application for calculations and CFD simulations later on.
After this, we need to create a data exchange of the design, which leads us to step 3.
Step 3 - Creating a Data Exchange and uploading to Autodesk Construction Cloud
In Revit 2023, after a successful validation, the Data Exchange Connector will automatically pop up. For Revit 2024, please go to the Collaborate tab to manually access the Data Exchange Connector which is only available as a beta version right now.
In the connector pop up, you can either create a new exchange if your design is brand new or update an existing exchange if you have modified a design. In case of a new exchange, you can choose a name for your exchange and its storage location. Click on Create and an exchange of your design will be created on your ACC account.

Autodesk Revit Data Exchange Connector
Please note that your Revit & ACC account should have the same user details for this to work. Also, please do not skip step 2 and proceed directly to creating an exchange as the validation and the data extraction are very important for our AHC application to process your design.
In case you don't have the Data Exchange Connector, you can also directly upload your .rvt design to your ACC account and create an exchange from there.

ACC Exchange creation
Now that you have your base design, it's time to create some airside distribution systems.
Step 4 - Creating Airside Distribution Systems
Once you have your base design, we recommend saving it and creating duplicates of that file. Create as many duplicates as you want airside distribution systems. Rename each duplicate and design an airside distribution system on top of the base design.
Please make sure you do not modify, add or subtract any geometry or component from the base design. The base design should remain the same throughout all your designs with only the airside distribution systems being variable.
Airside distribution components can be found under the Air Terminals family category and have editable properties like 'Airflow Rate' & multiple size variants as family types.

Air terminals families & sizes as types
Once the designs are complete, repeat steps 2 & 3 with them to validate, extract & bind data and create exchanges with them, preferably at the same location as the base design.
If you don't want to design airside distribution systems with Revit, you can design them in our AHC application as well even if you import the base design from Revit.
Once all this has been completed, we can now move to our AHC application for step 5.
Step 5 - Importing Revit designs & AHC Connect
Log into your AHC account and create a new project. Before choosing to import a Revit BIM Exchange, make sure that you have our AHC Connect plugin added to your ACC account. Without doing this, you won't be able to see your ACC projects and data within our application. Adding our plugin to your account enables us to gain read access to your projects and data which will then be reflected in our application.

AHC Connect added to ACC Account
Once the above has been taken care of, click on Import and a separate window will open up asking you to login to your ACC account. Our application uses three legged authentication and asks for read access for your ACC account data. Once you have logged in and provided access, your account data will show up starting with Hubs.

Import from your ACC account
Navigate to the project and folder where you have stored your exchanges & select the exchange which contains just the base design as we are currently importing only the BIM exchange. Once selected, the design will be processed and a PASS status will appear next to it if everything has been done correctly till now.

Base design import successful
Now, click on next to reach the prompt to import your Airside Distribution System (ADS) exchanges. Do the same process as before and import up to 6 exchanges in one go. Please make sure that the ADS exchanges you import are made on the same base design you imported earlier.

Airside designs import successful
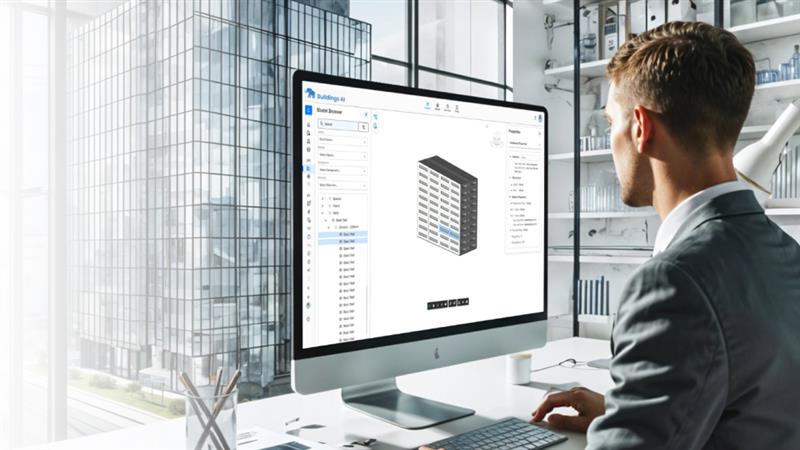
Once, all the exchanges have been processed with a status of PASS, please proceed forward. You will be asked to adjust a few more settings until you can see the BIM design that you have imported in our inbuilt BIM designer.

AHC BIM Designer
That's it. You have successfully imported your Revit designs into our application. You can see your ADS designs later after you have generated a heatload report which is the next step in our application's process.
After Import
Please make sure not to make any changes in your BIM design within our application as that will mess up the whole simulation process.
If you do need to make any modifications, the correct way to do it would be in Revit itself. First, make the changes in the base design, then make the same changes in the subsequent air distribution system designs and then repeat steps 2-5.
This is how to import a revit design into our AHC application seamlessly.
If you are facing any difficulties with the revit feature you can reach us via the following:
support@simulationhub.com
Important Links
Comments
Recent posts